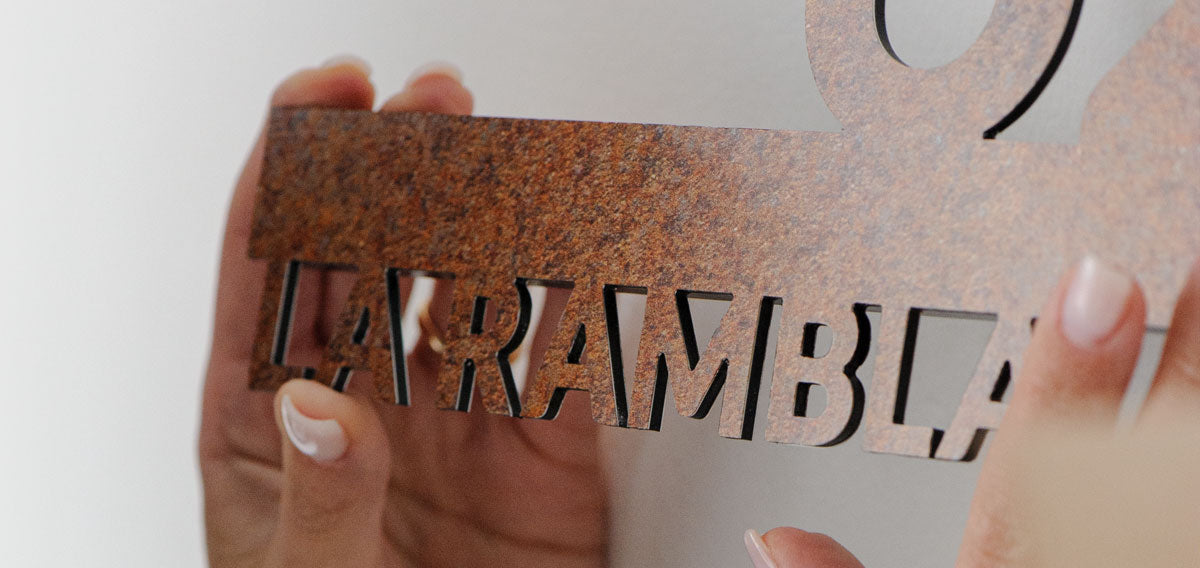
Step 1

Read the guide carefully before proceeding with the installation. Pay close attention during positioning. Take the necessary time to position the provided aluminum plate. Once the plaque is glued to the plate, it will be difficult to remove. Removing it after it has set may damage the plaque itself.
We have included everything you need in the package to facilitate wall mounting.
- Complete installation with plate and double-sided adhesive (Recommended). For rough and difficult walls, we have prepared an aluminum plate with double-sided adhesive for a more durable and resistant application.
Contents of the package
- Civic number plate
- Aluminum plate (with applied adhesive). Useful for installations on difficult walls (stones and rough surfaces).
- Screws and wall plugs
Step 2

Mark the points where you want to make the holes. Use a pencil or a pen. The holes on the aluminum plate will help you mark the precise points.
Step 3

Drill holes in the wall. You can use a drill to help you with that.
Step 4

Insert the provided wall anchors into the holes.
Step 5

Screw the plate directly into the wall.
Be careful!
Screw until the head of the screw reaches the level of the plate, as shown in the following image. If you don't screw it tightly enough to the indicated point, it may compromise the next step, which involves attaching the plaque to the plate that has already been fixed to the wall with screws.

Step 6

Remove the protective film from the double-sided tape. We have placed the double-sided tape on the aluminum plate to keep the civic number plate attached to the plate while the glue dries.
Step 7

Glue the plaque, making sure there are no gaps, and press firmly with your hands.
Step 8

Give it one final touch with a simple gesture: one, two, or three gentle taps! And you're done.
Return to the page: all installations
